With React Native we are writing the code for both, iOS and Android, and it doesn’t take long to notice that we need to differ one from another.
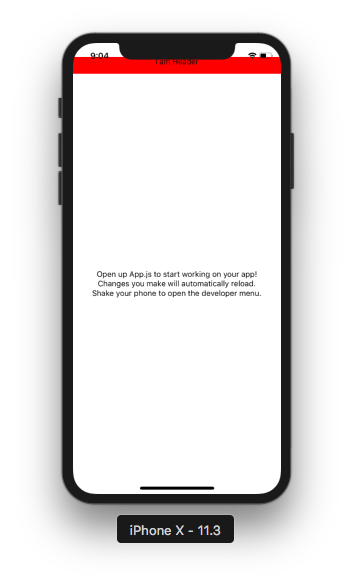
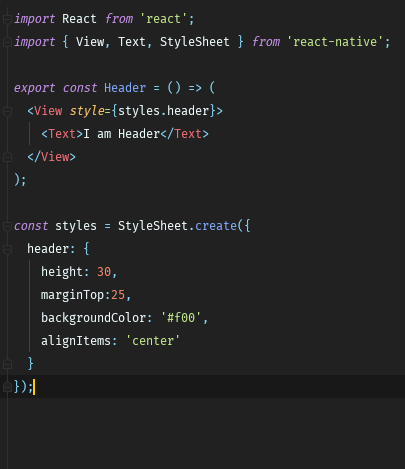
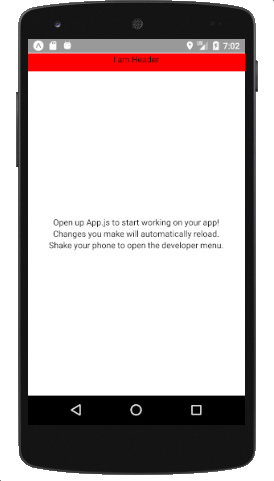
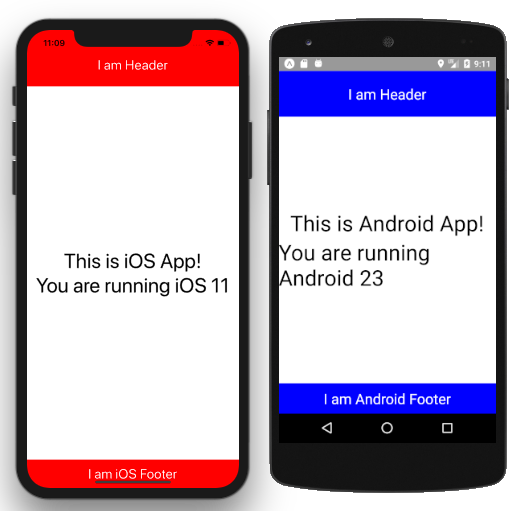
As we can see, our Header component, that has a simple task of displaying text, behaves differently on Android and iOS. Clearly, we need to have different styles for the two. So, how can we accomplish this?
Good people from the React Native team have provided a quite simple solution. They ve offered us a module called Platform.
All we need to do is import Platform from react-native and we re good to go. The Platform has OS property which tells us if we re running our app on iOS (ios) or Android (android). Furthermore, Platform comes with a method select which given an object with a key of Platform.OS will return the value for the platform we are running our code on.
Enough talk. Let s see this in action.
import React from 'react';
import { View, Text, StyleSheet, Platform } from 'react-native';

export const Header = () => (
  <View style={styles.header}>
    <Text style={styles.text}>I am Header</Text>
  </View>
);

const styles = StyleSheet.create({
  header: {
    height: Platform.OS === 'android' ? 76 : 100,
    marginTop: Platform.OS === 'ios' ? 0 : 24,
    ...Platform.select({
      ios: { backgroundColor: '#f00', paddingTop: 24},
      android: { backgroundColor: '#00f'}
    }),
    alignItems: 'center',
    justifyContent: 'center'
  },
  text: {
    color: '#fff',
    fontSize: 24
  }
});
The result:

Let s break down our code!
height: Platform.OS === 'android' ? 76 : 100,
marginTop: Platform.OS === 'ios' ? 0 : 24,
Nothing fancy here. We ve already mentioned that Platform.OS returns ios or android depending on the platform it s running on. Combining that with the ternary operator gave us this nice code which helped set height/margin of our Header. This code is equivalent to height: 76, marginTop: 24 on Android and height:100, marginTop: 0 on iOS.
Moving along we have:
...Platform.select({
    ios: { backgroundColor: '#f00', paddingTop: 24},
    android: { backgroundColor: '#00f'}
  }),
Platform.select will return the value given the key from Platform.OS., so in our case the code becomes ...{ backgroundColor: '#f00', paddingTop: 24} for iOS, and ...{ backgroundColor: '#00f'} for Android.
To sum it up, or styles are going to look like this:
Android:
const styles = StyleSheet.create({
header: {
height: 76,
marginTop: 24,
backgroundColor: '#00f',
alignItems: 'center',
justifyContent: 'center'
},
text: {
color: '#fff',
fontSize: 24
}
});
-----------------------------------
iOS:
const styles = StyleSheet.create({
header: {
height: 100,
marginTop: 0,
backgroundColor: '#f00',
paddingTop: 24,
alignItems: 'center',
justifyContent: 'center'
},
text: {
color: '#fff',
fontSize: 24
}
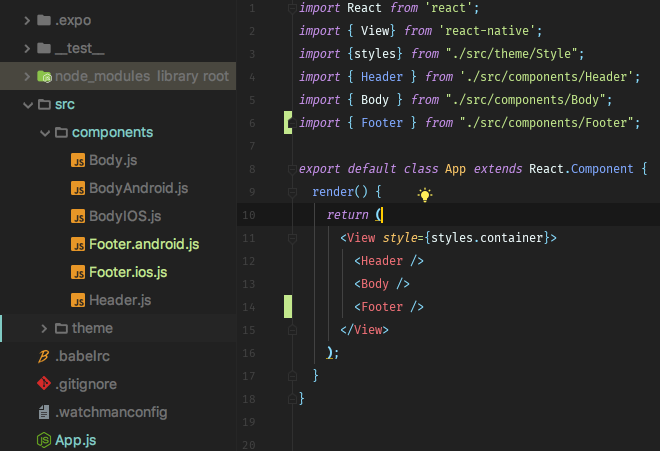
});We haven t come to an end with Platform.select. The cool thing about it is that it accepts any value, so you can use this to your advantage to return components for iOS/Android. In our case, we ve created BodyAndroid.js, BodyIOS.js, and Body.js, and replaced default text in App.js with Body component. So, our App.js looks like this:
import React from 'react';
import { View} from 'react-native';
import {styles} from "./src/theme/Style";
import { Header } from './src/components/Header';
import { Body } from "./src/components/Body";

export default class App extends React.Component {
  render() {
    return (
      <View style={styles.container}>
        <Header />
        <Body />
      </View>
    );
  }
}
The rest of our code:
BodyAndroid.js
import React from 'react';
import { View, Text} from 'react-native';
import {styles} from "../theme/Style";
export const BodyAndroid = () => (
<View style={styles.body}>
<Text style={styles.h1}>This is Android App!</Text>
</View>
);
--------------------------------
BodyIOS.js
import React from 'react';
import { View, Text} from 'react-native';
import {styles} from "../theme/Style";
export const BodyIOS = () => (
<View style={styles.body}>
<Text style={styles.h1}>This is iOS App!</Text>
</View>
);
--------------------------------
Body.js
import { Platform } from 'react-native';
import { BodyAndroid } from './BodyAndroid';
import { BodyIOS } from './BodyIOS'
export const Body = Platform.select({
ios: BodyIOS,
android: BodyAndroid
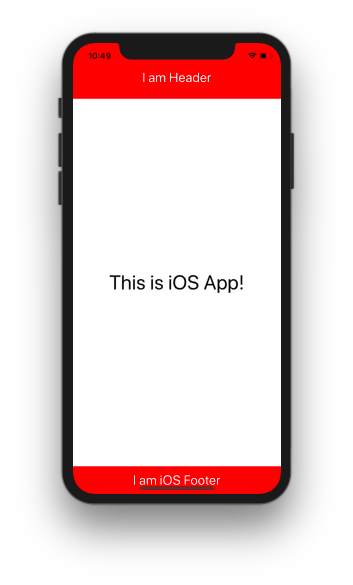
});And the result:

As good as this looks I don t consider it the best solution. There is something called Platform-specific extension which I prefer. So in the case of iOS, we want to have .ios. extension, while for Android we ll have .android.. This will help React Native determine which component to use for what platform.
Let s illustrate this with an example.

The code for our Footer is very similar to our Header, therefore, I won t be pasting it here. Important to notice is this simple line import { Footer } from './src/components/Footer';. The components directory doesn t contain Footer file, but righter Footer.ios and Footer.android. React Native is smart enough to determine which one to use, depending on what platform we re building our app for.
We ve seen how we can add our component using the Platform-specific extension and Platform.select method, but was that all Platform module can do? Well, no. There s one more thing left and you might have guessed it. It is detecting the version of Android/iOS. So let s modify our Body message by appending to it the version number.
Showing Platform version is as simple as calling Platform.Version.
Well there is a catch. While Android returns the version as an integer, iOS isn t so friendly and will give us the version in a form of a string. It shouldn t be difficult to convert it to the integer if we need to compare it (which is the most likely scenario if we need a version number). If we just want to display it we re safe to go with what we got.
To make everything more interesting, React Native comes with build in components and APIs, some of which are Android/iOS specific. To mention a few, for Android we have: DatePickerAndroid, ProgressBarAndroid, ViewPagerAndroid; and for iOS: AlertIOS, ImagePickerIOS, TabBarIOS. Furthermore, we can write Native modules for our Platform, but that is topic for itself.
Conclusion
To Platform or not to Platform, that is the difficult question. Usage of the platform-specific code is quite simple when it comes to React Native. We have a variety of choices. To create platform-specific component or make a modification in the component by determining OS is entirely up to us, and our case scenario.
The code used in this article can be found at my Github profile.